Home |
Sanding inside
| 1 | |
| 2 | |
| 3 | |
| 4 | |
| 5 | |
| 6 | |
| 7 | |
| 8 | |
| 9 | |
| 10 | |
| 11 | |
| 12 | |
| 13 | |
| 14 | |
| 15 | |
| 16 | |
| 17 | |
| 18 | |
| 19 | |
Last update: April 14 2008
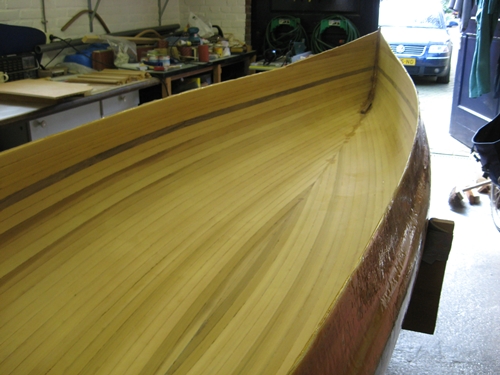 |
April 14 Yesterday I filled small gaps with Epoxy. The sanding is more or less finished. Geoff will help me on the 27th to epoxy the inside so in the meantime I will try and make some flotation chambers. |
|
|
April 8 Not always time, but try to spend an hour or two some days sanding. At least I can now see the difference compared with last week
|
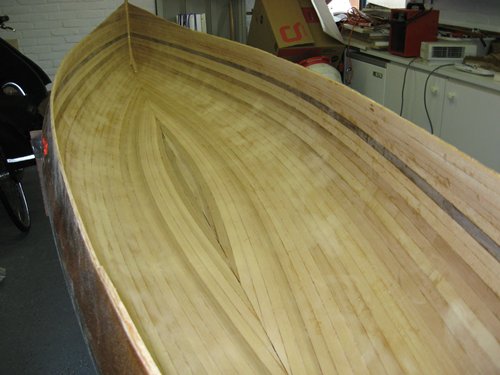 |
April 3 Started to remove glue and sand the inside this morning. Cannot find a good way of doing this. It is going to take weeks! Apart from a small area on the bottom which is flat, it looks like most will have to be done by hand. |
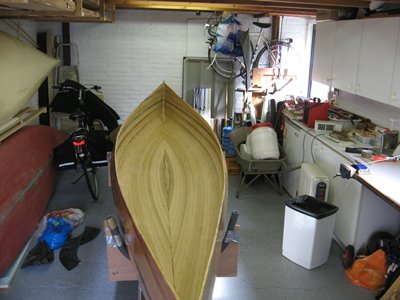 |
April 1 Boat back on the strongback ready for sanding. The end forms now came free quite easily. |
|
|
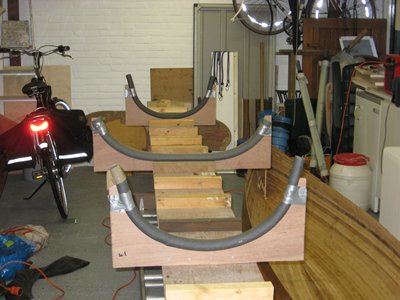
April 1 Screwed some cradles onto the strongback |
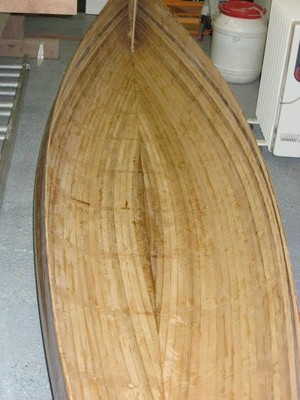 |
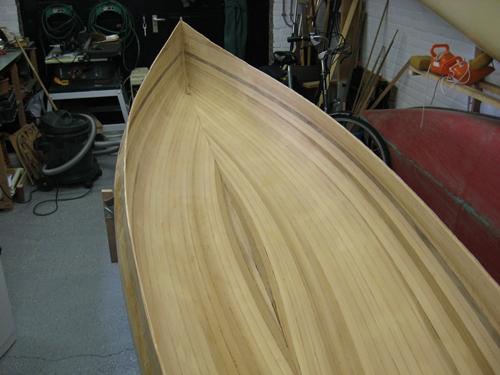
April 1 Today I dismantled all the forms and with Geoff's help was able to lift the boat clear of the strongback and view my boat for the first time the right way round. It was quite exciting and I would love to go and paddle it now but there is still many months of work ahead. Especially in the areas close to the forms and at the bow and stern there are lots of lumps of glue to be taken off and sanded. Initially the end forms did not come free and so I lifted them off together with the boat. |
